PySEBAL Installation
PySEBAL is a python library to compute Actual EvapoTranspiration (ETa) and other related variables using SEBAL model. Following specifications are recommended to run PySEBAL.
Computing requirements
Hardware
- CPU with 2 cores and > 2GHz processor
- Minimum of 8 GB RAM
- Storage space of 10 - 20 GB if processing multiple landsat tiles
Operating systems
- Windows 7/10 (Windows 8, 8.1 should also work, provided dependencies are met)
- Linux (Tested in Ubuntu 18.04 LTS, other Linux OS should also work)
PySEBAL requires Python 3, (tested in python > 3.6).
Source code
The PySEBAL library is hosted in a publicly available github repository. The library can be downloaded from here. In the link select the latest version3.7.3_osgeov1 and Download ZIP (see below two screenshots).
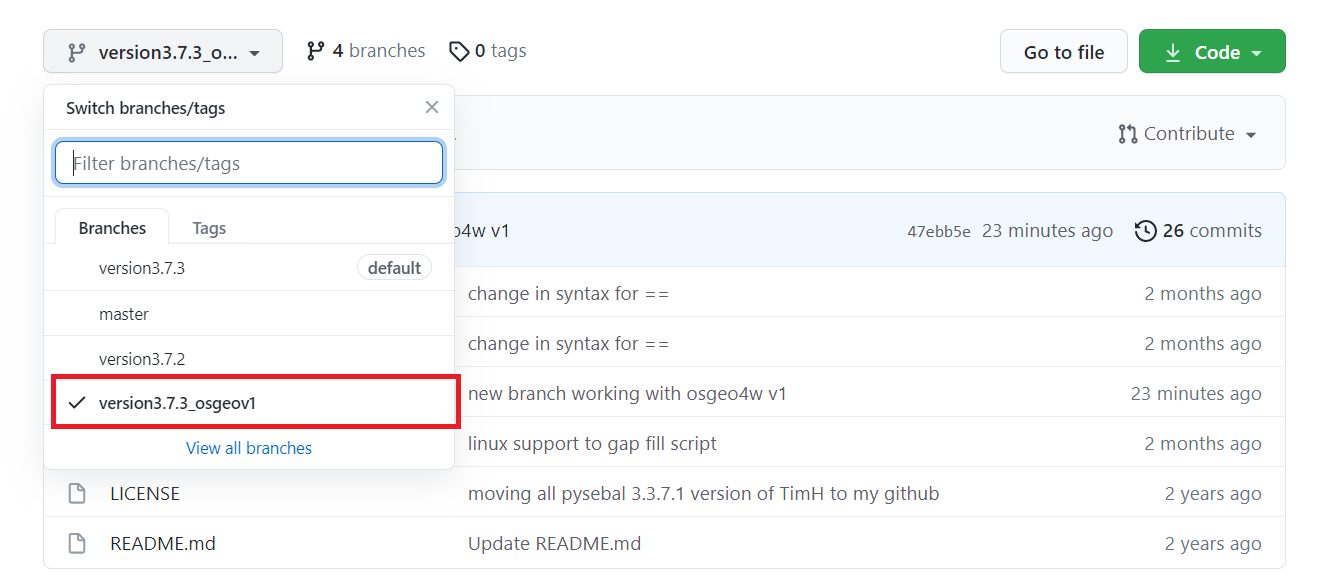
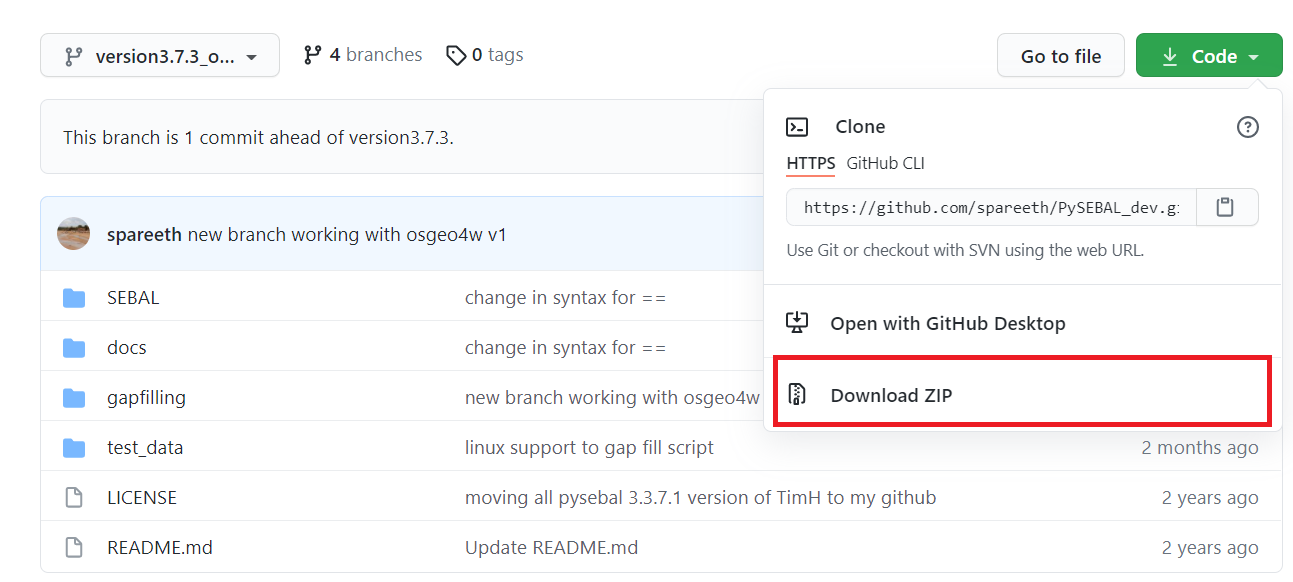
D:\ drive or any drive other than C:\ drive. Rename the folder PySEBAL_dev-version3.7.3_osgeov1 to PySEBAL_dev.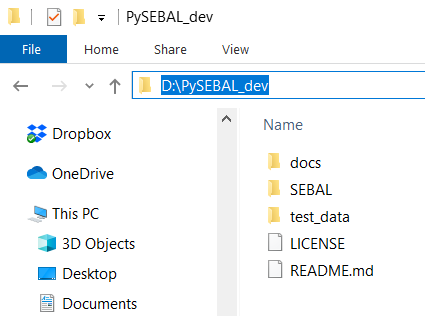
Installation in Windows
The PySEBAL library has multiple dependencies to support spatial data processing and computing. All the required libraries are open source. We reccomend using the OSGeo4W installer and environment to install all the dependencies and to run PySEBAL library in command line.
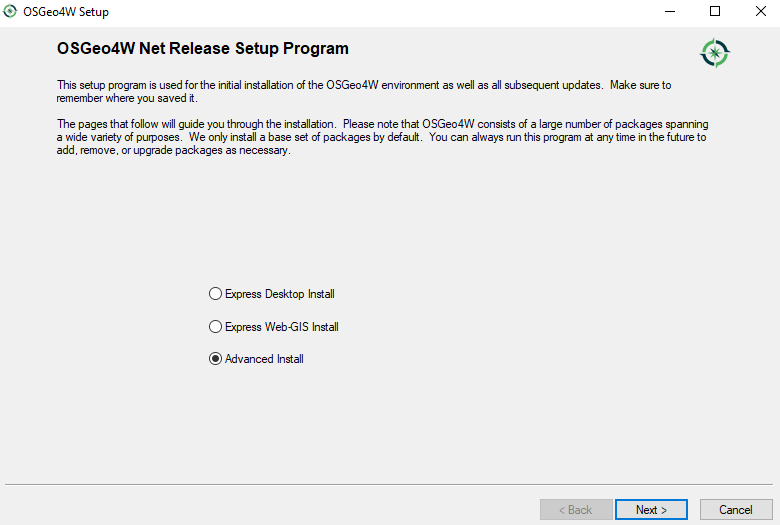
Installing dependencies
- Select “advanced install” and click “Next”
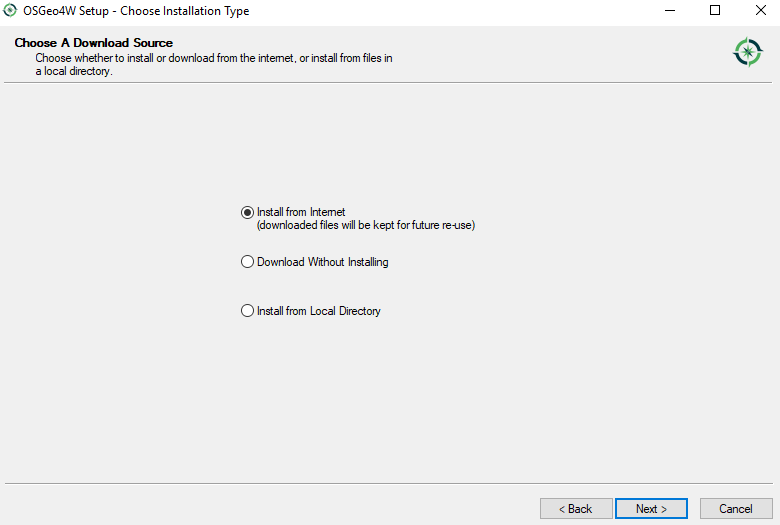
In this step there are two options, choose option 1 or 2.
- Select “Install from Local Directory” and click “Next”, if you want to install from the source libraries provided to you in USB.

- Select “Install from internet” and click “Next”, you must be connected to a good internet.
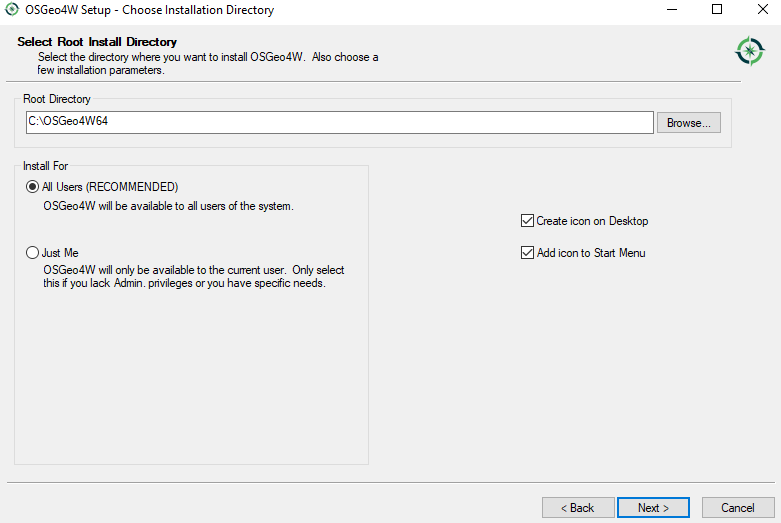
In this step select the root directory and access to users, keep default settings, and optionally “Create icon on Desktop” for easy access.
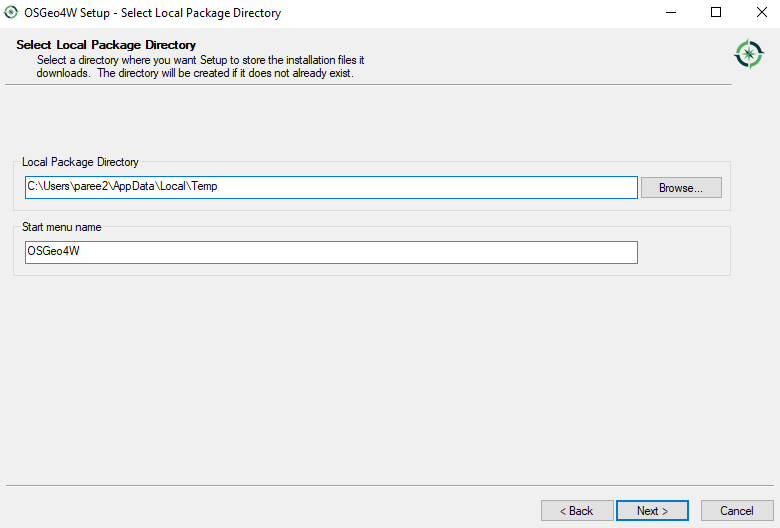
- Here choose the folder with local repository (provided to you in USB) if you have selected option 1 in the previous step or choose the folder (default option) to download the libraries from internet if you have selected option 2 in the previous step and click “Next”.
- In case of option 2 “Install from internet” in the previous step, select the default option “Direct Connection” and click “Next”.
- In case of option 2 “Install from internet” in the previous step, select the default option “http://download.osgeo.org” as the download site and click “Next”.
- In this step, search for the following packages one by one, and select the appropriate (latest) versions by clicking the
 icon under the column New. Check under the Package column if you are selecting exact library as stated below.
Warning
Do not click next before selecting all the packages listed below !
- qgis-ltr
- grass
- qgis-ltr-grass-plugin7
- msys
- pyproj (select both the packages for python 2 & 3)
- pandas (select all four packages python 2 & 3 , pandas and geopandas packages)
- scipy (select both the packages for python 2 & 3)
- tcltk (select both the packages for python 2 & 3)
- pip (select both the packages for python 2 & 3)
Click “Next” and finish the installation
Setting environment variables
- Right click “This PC” in Windows 10 OR “My Computer” in windows 7, go to Properties -> Advaced system settings -> Advanced tab -> Environment variables -> System variables.
- Click new and add four new system variables. Add the Variable name and Variable value as shown below.
- GDAL_DATA set to
C:\OSGeo4W64\share\epsg_csv- SEBAL set to
C:\OSGeo4W64\bin
- Edit the variable Path in the System variables to add the path
C:\OSGeo4W64\binto the end followed by a semicolon (;) in windows 7 OR add this path as a new line in the path variable in Windows 10.
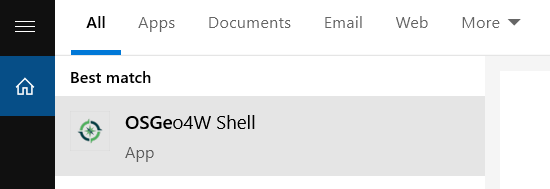
- In the program menu search for “OSGeo4W Shell” or if you have selected “Create icon on Desktop” option in the previous step, it should be in the desktop. Now open “OSGeo4W Shell”
- In the OSGeo4W Shell type in the following commands to install packages - setuptools, openpyxl, netCDF4, joblib
1 2 3 4 5 6 | # Enable python 3 by typing the following command and 'enter'
py3_env
# Install following packages
pip3 install setuptools
pip3 install openpyxl netCDF4 joblib
pip3 install grass_session
|
Warning
In case the above installation give fatar error then please try the following commands.
1 2 | python -m pip3 install setuptools
python -m pip3 install openpyxl netCDF4 joblib
|
Test installation
To test whether the PySEBAL will run, open OSGeo4W Shell, and type following commands.
1 2 3 4 5 6 7 8 9 10 11 12 13 14 | # After each command click enter
# Any line starting with '#' is comment line
# First enable python 3 by typing the following command and 'enter'
py3_env
# Change drive
D:
cd PySEBAL_dev\SEBAL
# open python
python
# import one of the PySEBAL Script
import pysebal_py3
# If there are no errors, the installation is successful
# To exit from python
exit()
|
Installation in Linux
The below steps are tested in Ubuntu 18.04 LTS, it should also work in other Linux distibutions, you may have to adapt some of the installation steps accordingly. This is also valid for installation in Bash for Windows app with Ubuntu inside windows 10.
Note
You can check the python version using the command python --version in a terminal
Installing dependencies
The dependencies packages are same as those in windows except for msys. We also install git to download and clone the PySEBAL_dev repository.
Open a Terminal and type in following commands to install required packages. You should have admin rights to install packages.
Warning
Please remove all the QGIS and GRASS packages you may have installed from other repositories before doing the update.
1 2 3 4 5 6 7 8 9 10 11 12 13 14 15 16 17 | # After each command click enter
# Any line starting with '#' is comment line
# Install git
sudo apt-get install git
# Add a PPA to install required GIS softwares
sudo add-apt-repository ppa:ubuntugis/ubuntugis-unstable
sudo apt-get update
# Install qgis and qgis-grass plugin
sudo apt-get install qgis qgis-plugin-grass
# Install GRASS GIS and required packages
sudo add-apt-repository ppa:ubuntugis/ppa
sudo add-apt-repository ppa:grass/grass-stable
sudo apt-get update
sudo apt-get install grass78
# Install openpyxl, netCDF4, joblib packages
# For python 3, use pip3 to install ....
pip install openpyxl netCDF4 joblib
|
For other Linux distributions there is detailed instruction to install qgis here and grass gis here.
Download source code
Open a terminal and type in following git command to download the PySEBAL_dev repository.
1 2 3 4 5 6 7 | # After each command click enter
# Any line starting with '#' is comment line
# change to working directory,
# /mnt/d if you are accessing windows D: drive from linux. For example "bash for windows" in windows 10
cd /mnt/d
# Clone the PySEBAL_dev repository
git clone https://github.com/spareeth/PySEBAL_dev.git
|
Testing installation
Open a terminal and type in following codes to test if the installation is successful.
1 2 3 4 5 6 7 8 9 10 11 12 | # After each command click enter
# Any line starting with '#' is comment line
# change to the PySEBAL_dev directory, assuming that the repository is cloned in /mnt/d
cd /mnt/d/PySEBAL_dev/SEBAL
# List the files inside this folder
ls
# Open Python
python
import pysebal_py3
# If there are no errors, the installation is successful
# To exit from python (ctrl-d)
exit()
|
Test run PySEBAL
Once PySEBAL is installed, we can run the PySEBAL code using the test data provided with the PySEBAL_dev library. The test data is located in the folder PySEBAL_dev\test_data. If you have installed PySEBAL in D: drive then it should be D:\PySEBAL_dev\test_data.
D: drive, Let us run the library with test data.D:\PySEBAL_dev\SEBAL and follow the commands given below.1 2 3 4 5 6 7 8 | # After each command click enter
# Any line starting with '#' is comment line
# First enable python 3 by typing the following command and 'enter'
py3_env
# change to the PySEBAL_dev\SEBAL directory
cd D:\PySEBAL_dev\SEBAL
# Run the PySEBAL script
python Run_py3.py
|
1 2 3 4 5 6 | # After each command click enter
# Any line starting with '#' is comment line
# change to the PySEBAL_dev\SEBAL directory
cd \mnt\d\PySEBAL_dev\SEBAL
# Run the PySEBAL script
python Run_py3.py
|
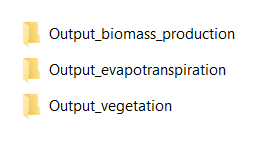
After the above commands, there will be a output folder inside D:\PySEBAL\test_data with the following structure.
Warning
If PySEBAL_dev is not in D: drive, adapt changes to the path in above commands accordingly. To change the path open the excel sheet D:\PySEBAL_dev\docs\InputEXCEL_v3_3_7_WIN.xlsx in case of Windows OR open D:\PySEBAL_dev\docs\InputEXCEL_v3_3_7_LIN.xlsx in case of Linux. You need to change the path in columns B, C & E in the sheet 1.
Note
Now go to the folder D:\PySEBAL_dev\test_data\output\Output_evapotranspiration and check the daily ETa map (L8_ETact_24_30m_2014_03_10_069.tif) in QGIS.